
Teachers, school admins, and school staff are everyday heroes, and they've had it especially hard the last two years. Teacher Appreciation week is May 1st to 7th, so why not show them some extra love this year? In my past life (aka 10 years ago) I used to be a floral designer, and also a DIY blogger.
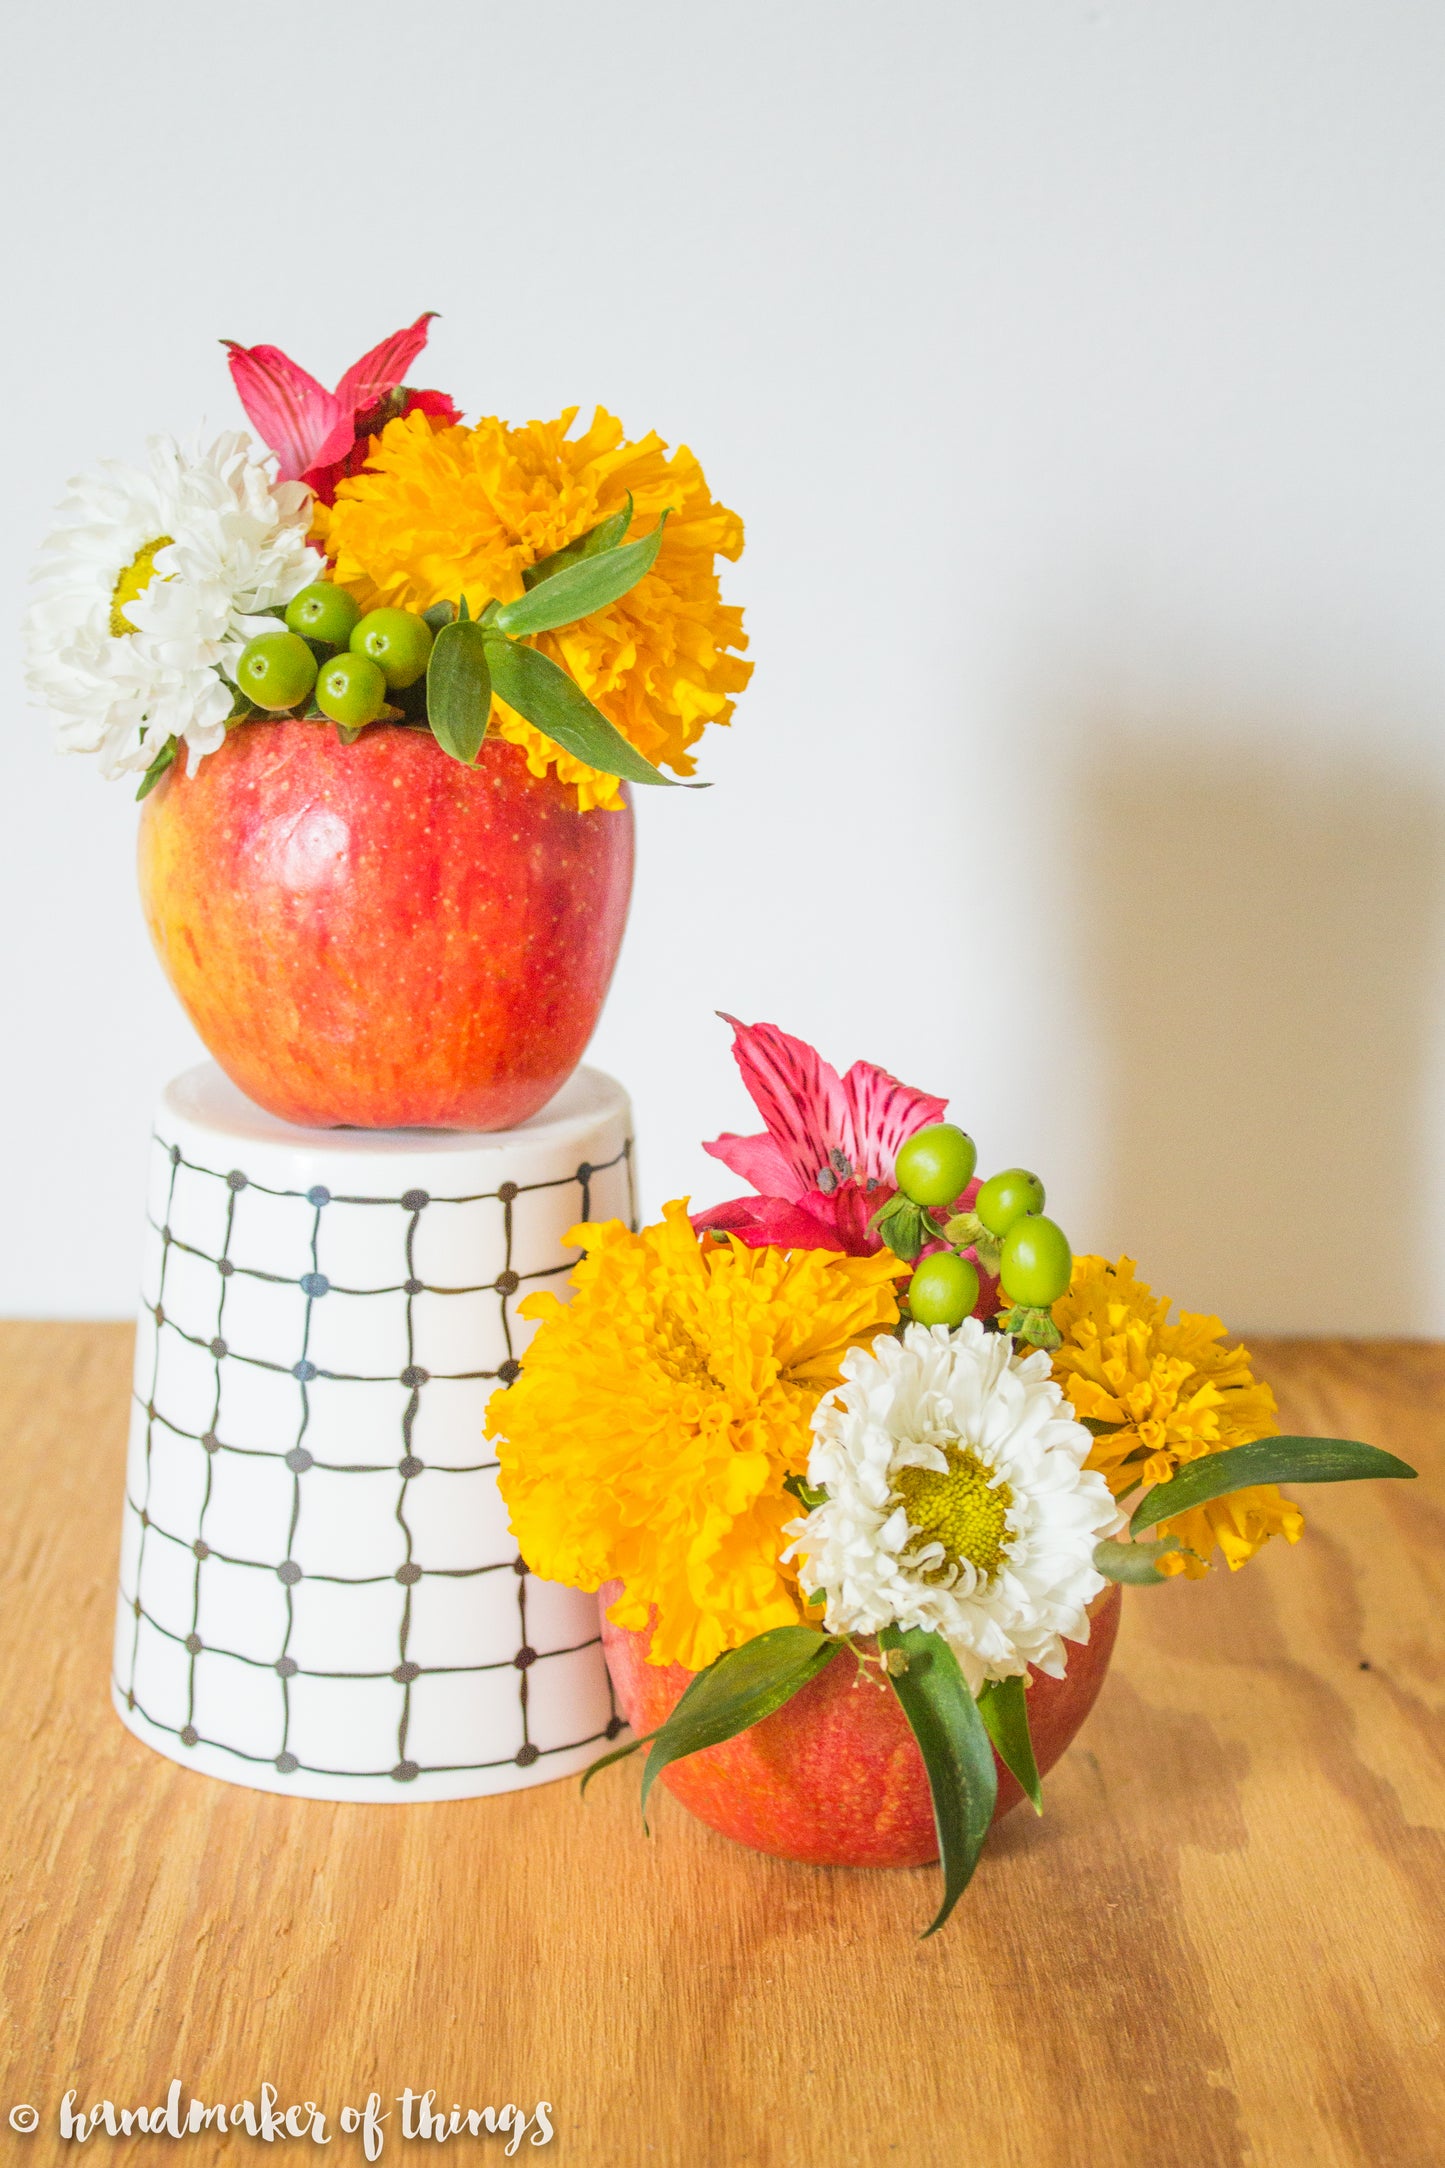
I was also a teacher for two years, and I definitely got lots of awesome gifts, most of them food (hey I'm not complaining). But if there's one thing I would have loved it would be fresh flowers. I thought that this adorable, and super easy Teacher Appreciation apple vase DIY would be a fun project for the kiddos to bring to their new teachers (and they can help you with it too).

Here's what you'll need:
- Flowers. You don't need a lot, just a few colorful blooms.
- An apple.
- A sharp knife
- Melon baller or spoon. The melon baller works great, but a spoon will work too.
- Floral wet foam.
- Shears or heavy kitchen scissors.

Cut the top off your apple, then carefully cut a circle in the center with your knife.

Scoop out the inside of the apple with your melon baller or spoon. Be careful not to get too close to the edges or you might poke through the skin. I hollowed mine down about 1 1/2 inches.

Cut a small piece of your floral foam from the brick and soak it in water. (Don't soak the whole brick, you can use the rest later for another project if you don't wet it). Once it's soaked trim as needed and put in the apple.

Take your blooms and cut them off so that they have just a little bit of stem left, about 1 inch or so. If your kids are little have them choose which flowers to have you add to their arrangement. Older kids can create their own designs.

Begin putting your blooms into the foam. I usually like to start with my foliage first, then add the bigger flowers, and then the smaller blooms last.
This is a project that you can definitely do the night before school. The wet foam is a water source for the flowers, so you don't need to worry about them wilting or dying.

That's it! Now send your kiddo to school with their adorable gift. Trust me, their teacher will love keeping this cute little arrangement on their desk.
xo ~ Emily
I hope you'll give this project a try. I'd love to see what you create, use #hazelandollie or tag @hazelandollie if you share on your social media.
